3. Apple Setup
To manage iOS and Mac devices remotely, supervised, follow these Steps:
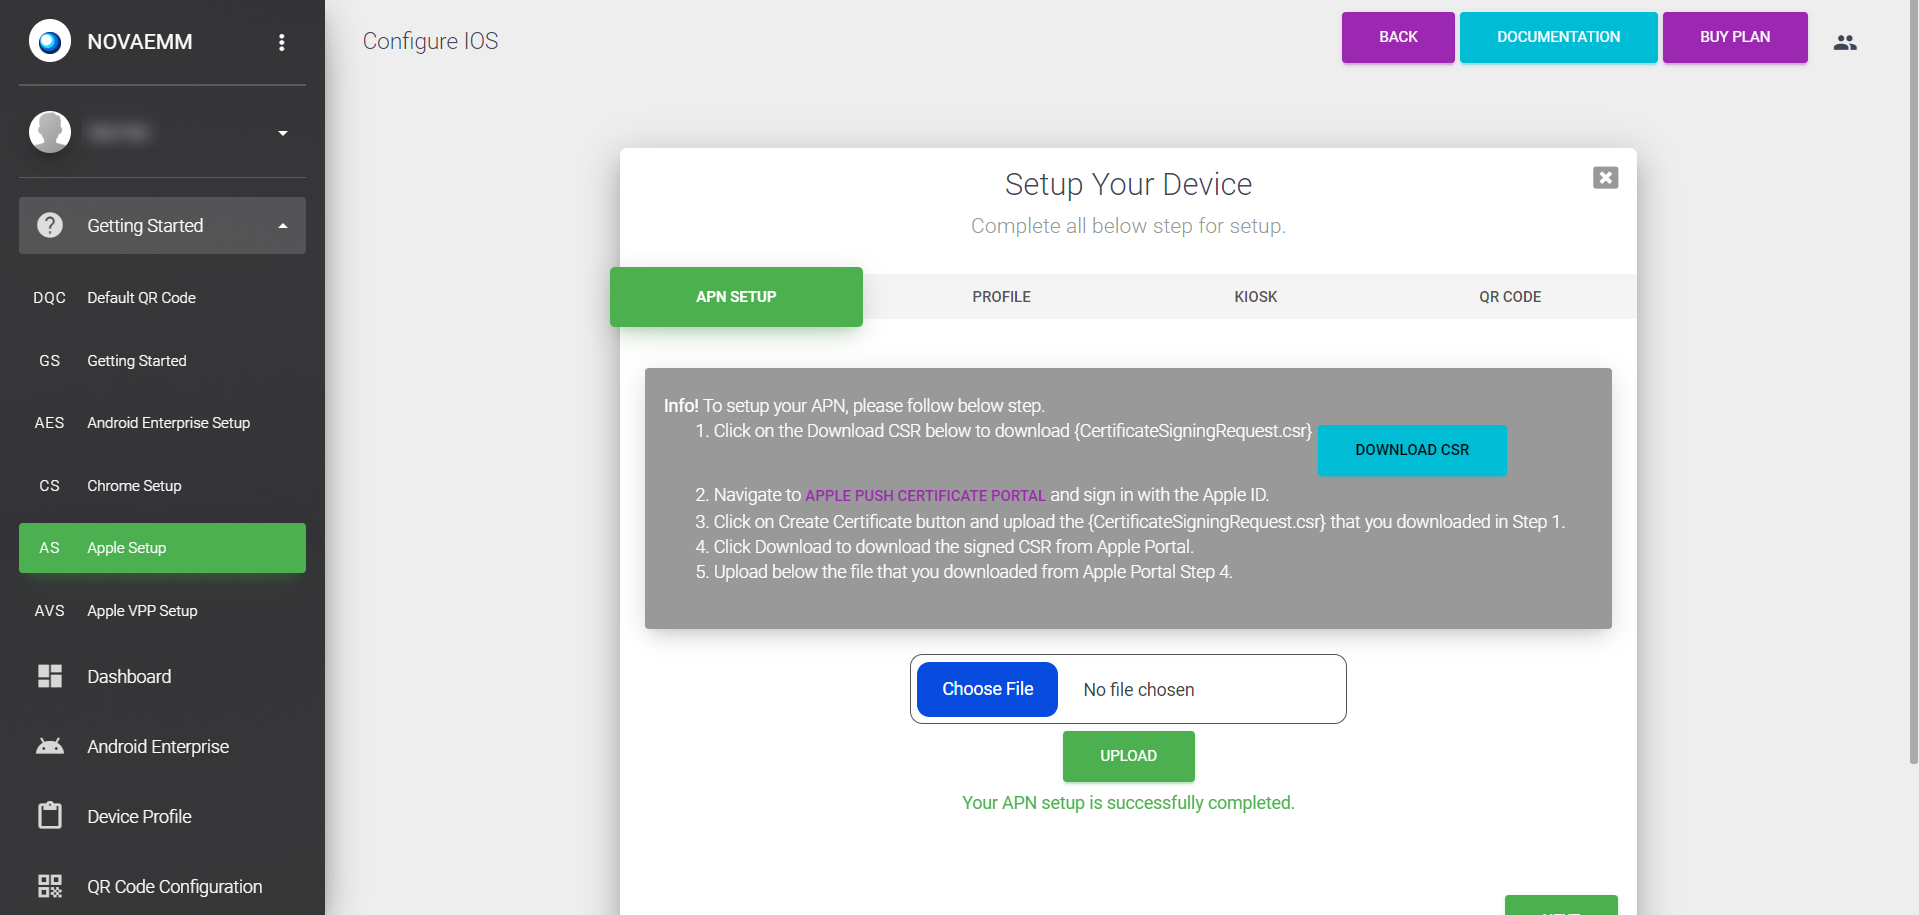
- Download the {CertificateSigningRequest.csr} file by clicking on the Download CSR button.
- Click on “APPLE PUSH CERTIFICATE PORTAL” link and sign in with your Apple ID.
- Click on the Create Certificate button and choose the {CertificateSigningRequest.csr} file that you downloaded in Step 1.
- Download the signed CSR file from the Apple Portal by clicking on the Download button.
- Upload the signed CSR file that you downloaded in step 4 by using the upload option.
Wait sometime till this screen shows up:
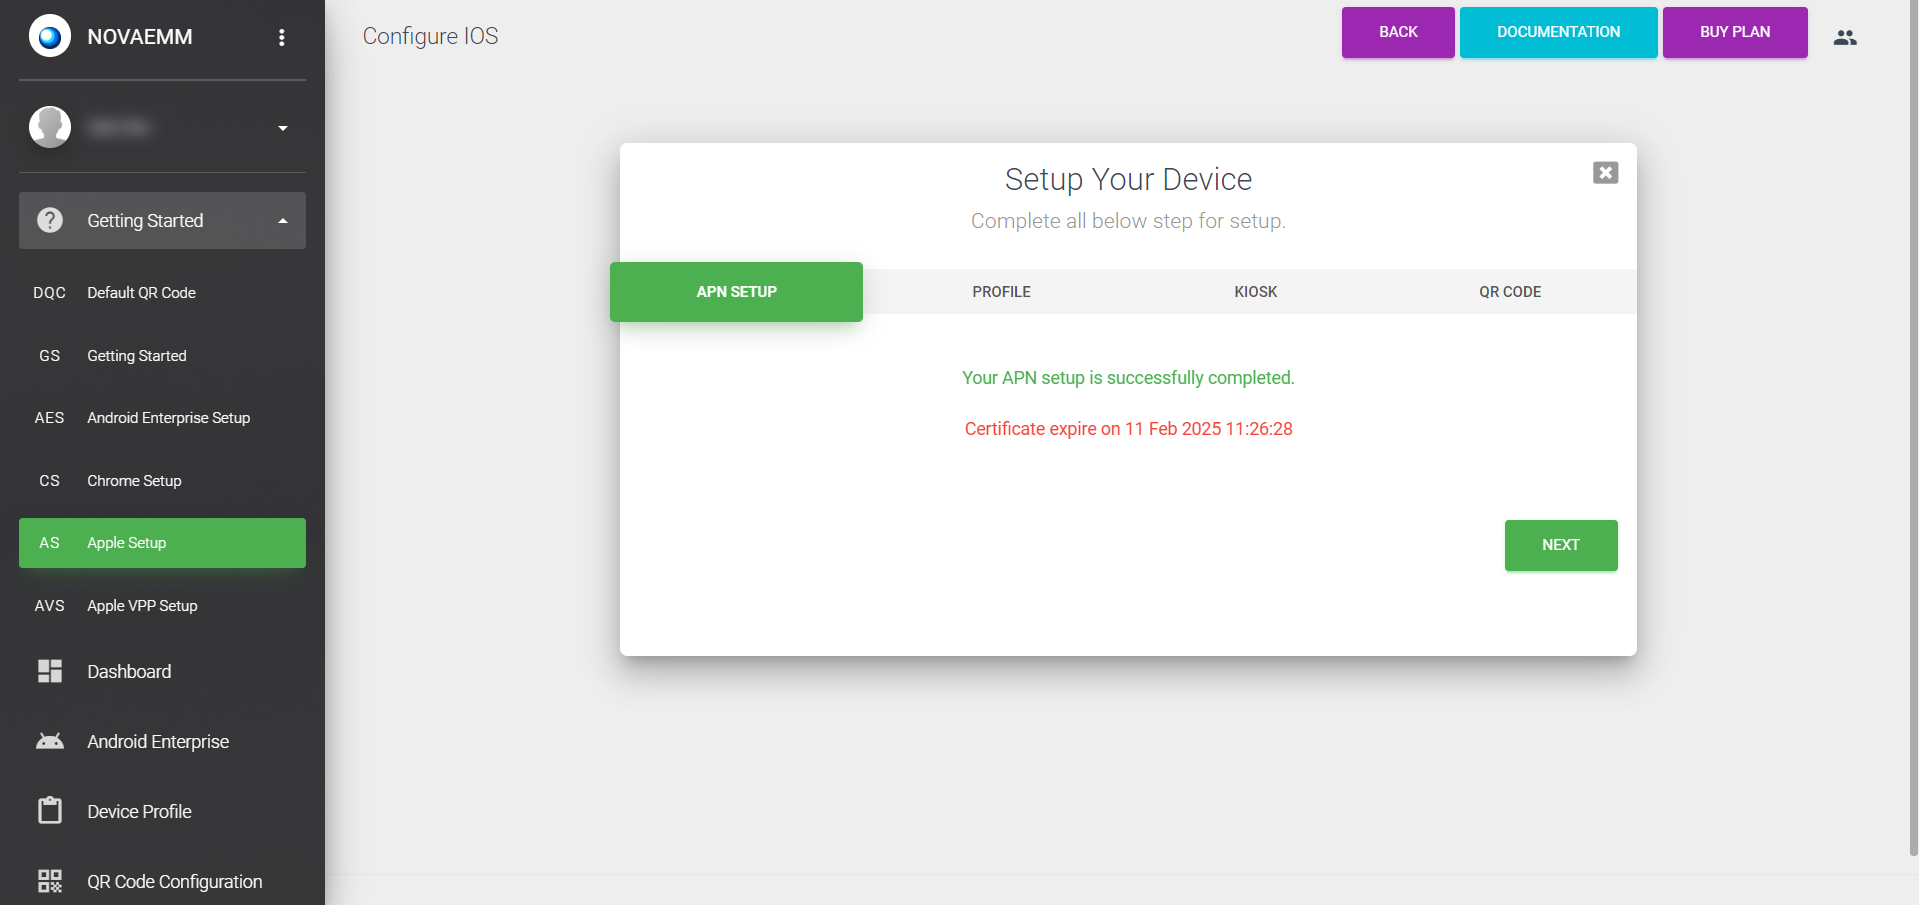 Click NEXT.
Then create a profile, enter the name you want to give to the profile in the text box. To search for the app that you want to set as kiosk mode, type the app name in the search bar and select the app by clicking on the plus icon.
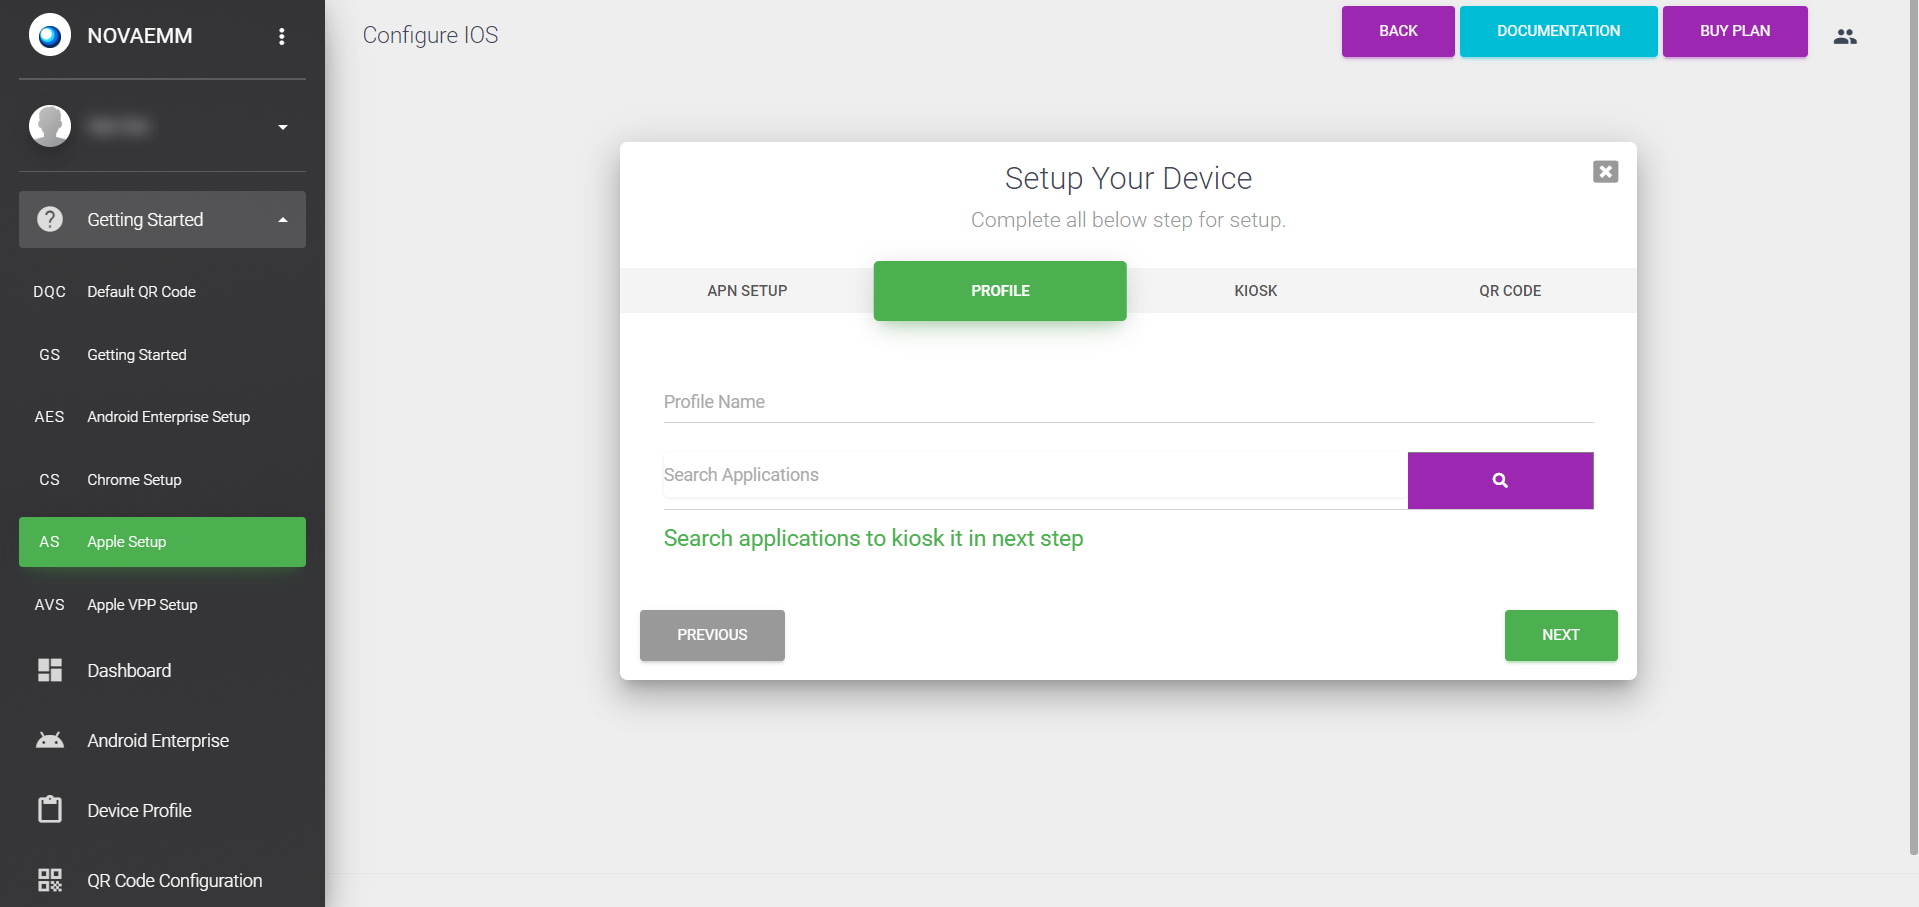
| Setting | Description |
|---|---|
| Profile Name | Please give a name for your profile. |
| Search Application | To add an application to your profile, search for the application and then click on the plus icon at the top right corner. |
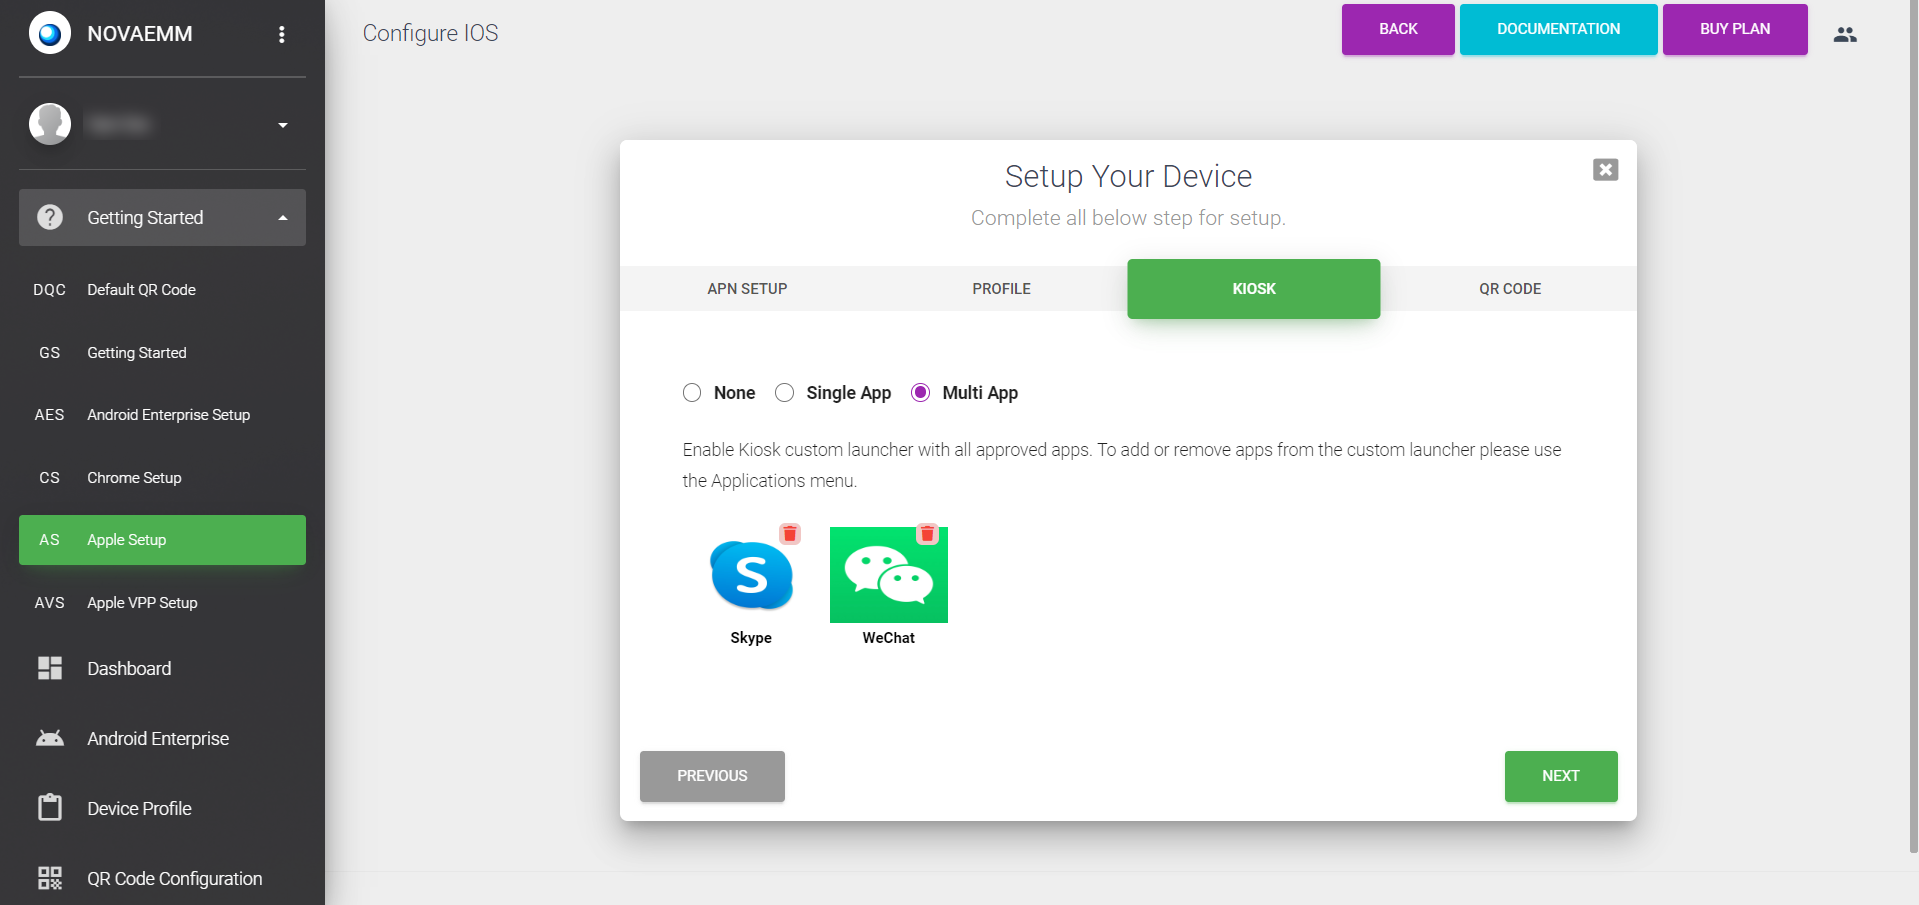
Kiosk
| Setting | Description |
|---|---|
| Single App | Select one application to lock down your devices. |
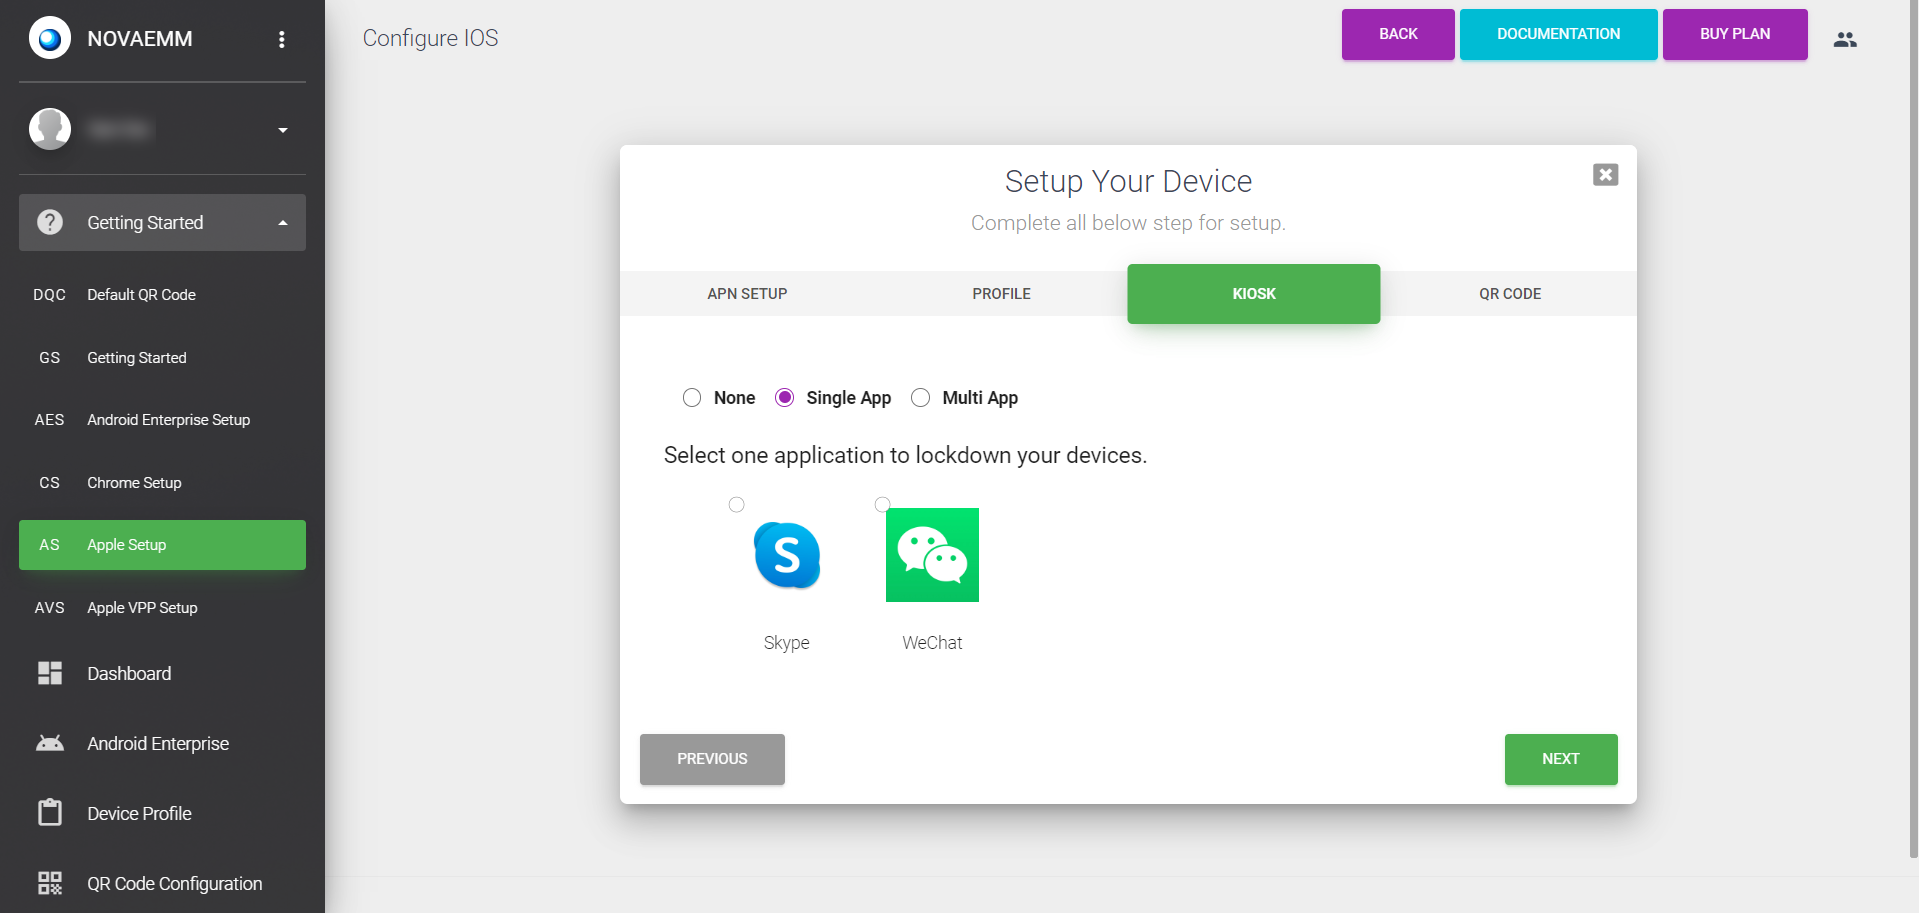
| Setting | Description |
|---|---|
| Multi App | Enable Kiosk custom launcher with all approved apps. To add or remove apps from the custom launcher please use the Applications menu. |
 Click NEXT.
QR Code
| Setting | Description |
|---|---|
| Configuration Name | Enter configuration name to create QR code. |
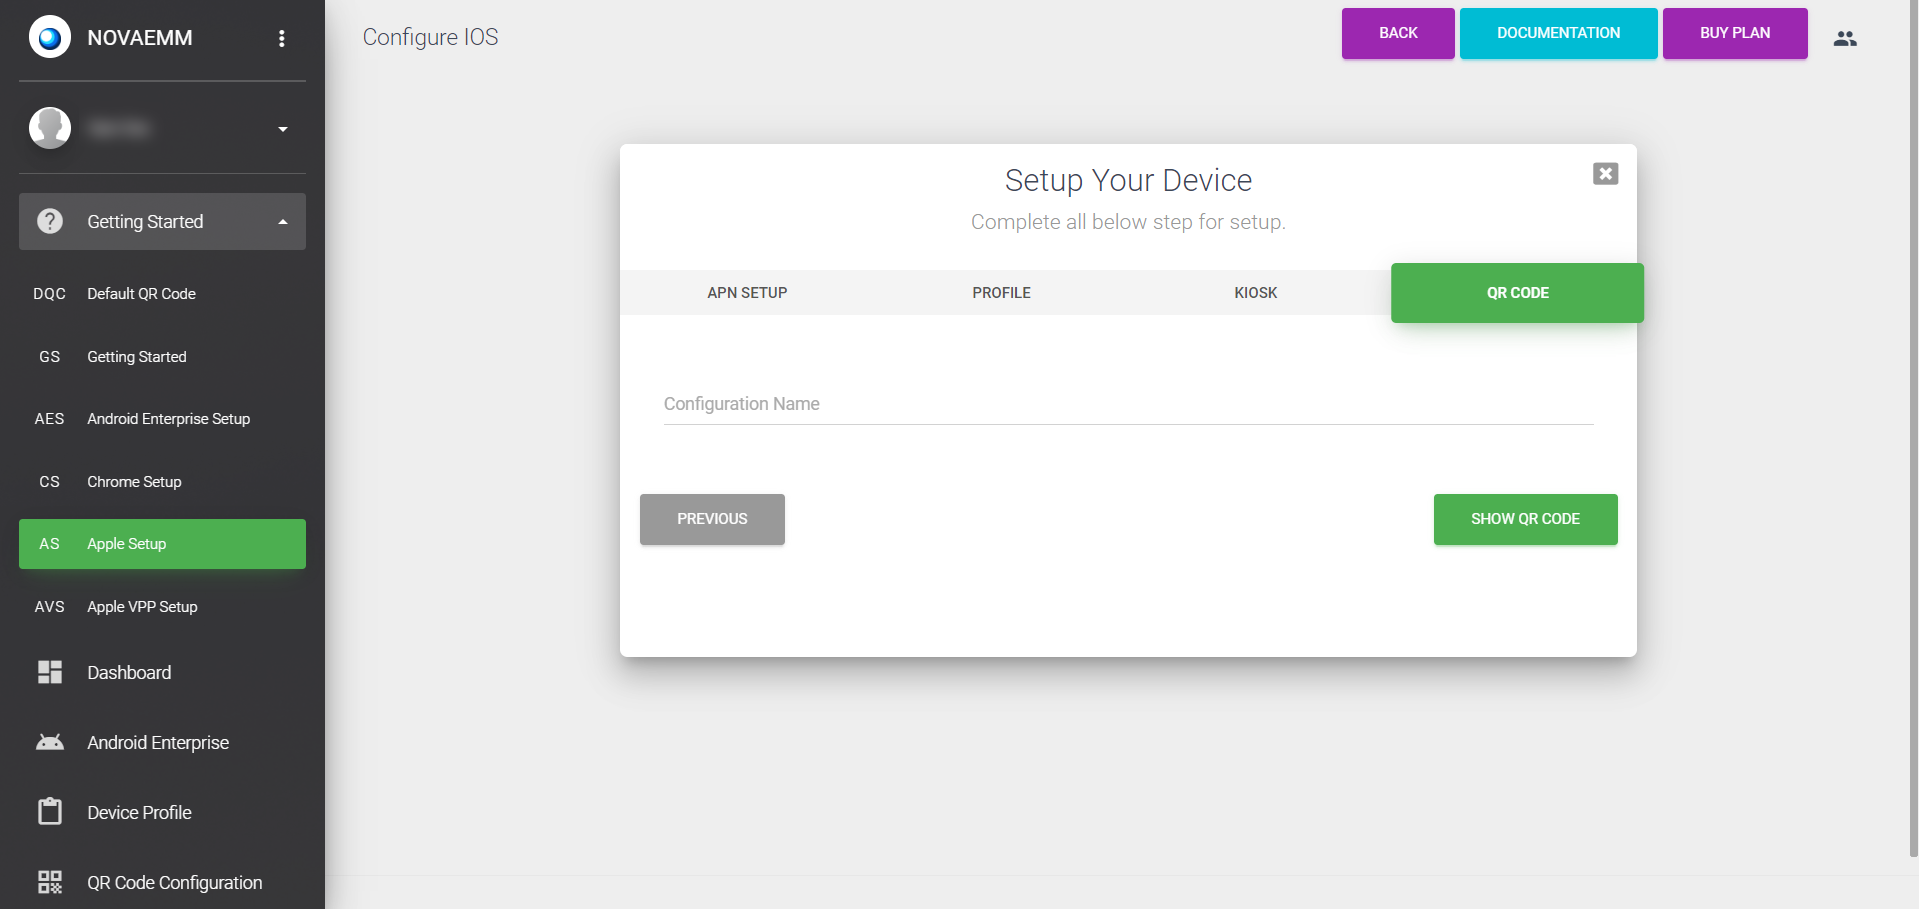
On the iOS Device, launch the Camera app. Scan the QR Code using the Camera app.
You can install using link which is shown above the QR Code. Note: Use the link on your iOS device only. Don't open it in your Mac.